No products
Categories
Viewed products
-

ICS ALPHA FLAG...
ICS ALPHA FLAG Embroidered Patch....
-

ICS MIKE FLAG...
ICS MIKE FLAG Embroidered Patch....
HOW TO PLACE AN EMBROIDERED PATCH |
|
Depending on the garment and the placement of the patch on it, the patches can be classified into 2 large groups: |
|
Embroidered Sewing Patches (Sew on) |
|
The great advantage of the Sewing Patch is that it can be removed and put on as many times as needed. |
|
Embroidered Thermoadhesive Patches (Iron on) |
|
Its great advantage is its ease of use but it is necessary to adopt a series of basic measures for its correct application on the garment, as well as for its future maintenance.
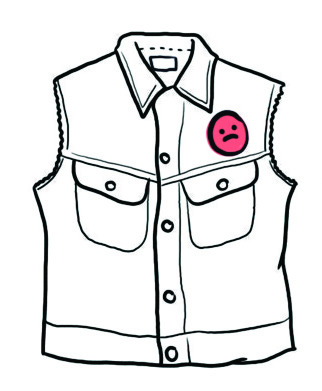
Step 1: • Check the manufacturer's label to see if the garment can be ironed or not. • Check the composition of the garment. As a general rule, do not apply to synthetic fabrics with a low melting point (< 40º). • Heat the iron for 5 minutes on the "cotton" setting and remove the steam option. • Warm the surface of the garment where the patch will be placed. • Place the patch on the garment with the embroidered part facing upwards and the adhesive part on the garment.
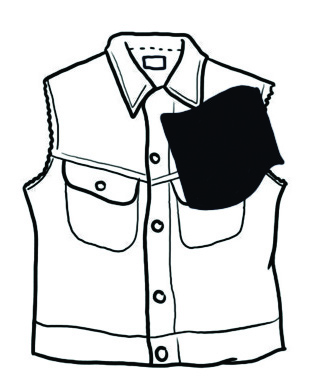
Step 2: • Place the garment preferably on a hard surface (table or ironing board). • Cover the patch with a heat-resistant cotton cloth or cloth. Under no conditions should the plate directly touch the embroidered part of the patch.
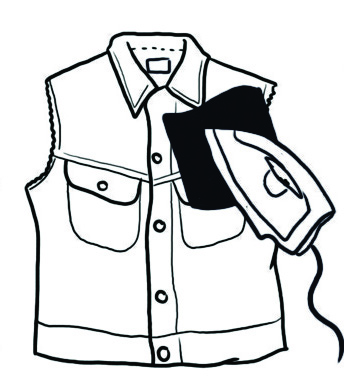
Paso 3: • Apply a slow, circular motion by pressing "firmly" with the iron for about 30 seconds. • Without removing the cloth, wipe the edges of the patch. • Remove the cloth carefully. • If any edge has not been glued, wipe it off (with the cloth over it) for another 10 seconds.
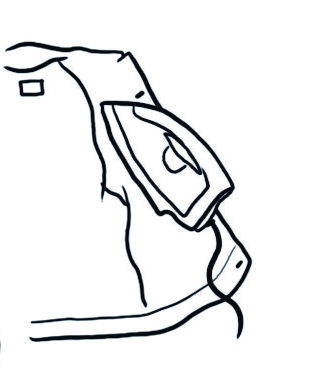
Step 4: • Turn the garment upside down and apply heat in the same way as described above for another 20 to 30 seconds. • Allow to cool for 1 minute. If the edge of the patch can be lifted, repeat the process from Step 3. Caution: · Do not wash the garment until 2 days after ironing. The patch should also be removed from the garment for later use with heat. This process can irreversibly damage the adhesive. It may also leave stains on the garment. |


